GIMP 3.0: Beyond the Basics — Advanced Features for Power Users
So let’s dig into the features that turn GIMP from “that free photo editor” into a genuinely powerful creative tool.
1. Layer Masks — The Most Important Feature You’re Probably Not Using
If you only learn one thing from this post, make it layer masks. They’re the foundation of non-destructive image editing, and once you get used to them, you’ll wonder how you ever worked without them.
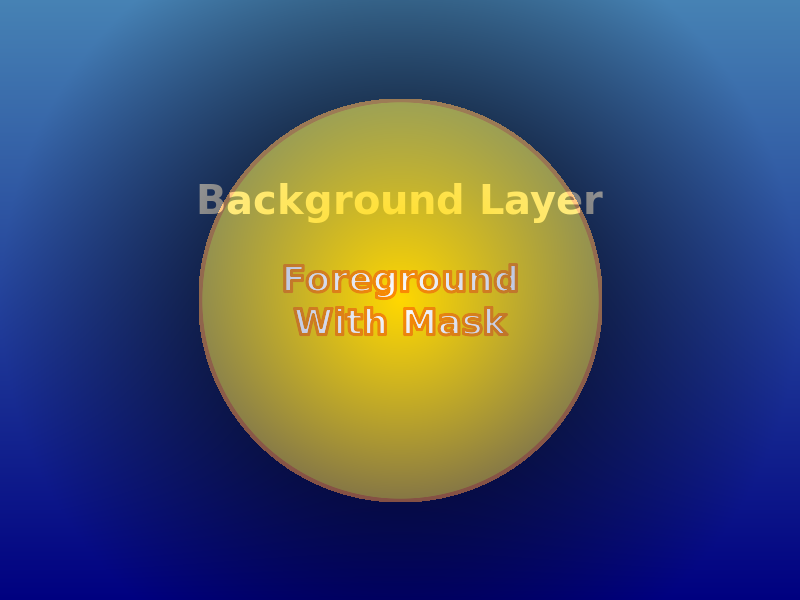
A layer mask is like a stencil sitting on top of a layer. Where the mask is white, the layer is visible. Where it’s black, the layer is hidden. Where it’s grey, the layer is partially transparent.
To add one: select a layer, then click the Add Layer Mask button at the bottom of the Layers panel (looks like a square with a circle inside). Choose “White (Full Opacity)” and you’ll see a white thumbnail appear next to the layer preview.
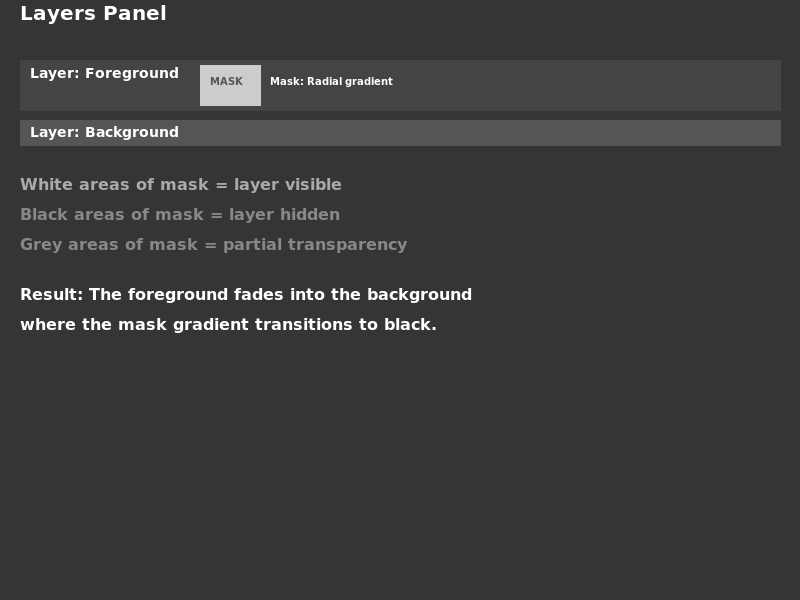
Here’s the magic: grab the Paintbrush tool, pick black, and paint on the image. Whatever you paint disappears — revealing the layer beneath. Paint white again, and it comes back. All non-destructive, all adjustable. You can blur the mask, use gradients on it, or even paint soft edges with a low-opacity brush.
This is how photo retouchers blend exposures, how designers composite multiple images, and how you can erase a background without committing to anything permanent.
2. Quick Mask Mode — Paint Your Selections
Most people use the selection tools — Rectangle Select, Ellipse Select, Lasso, Fuzzy Select — and then try to refine the result with the Select menu. But there’s a much more intuitive way.
Press Q on your keyboard. The image gets a red overlay. That’s Quick Mask mode.
In this mode, painting with white removes the red overlay (adding to the selection), and painting with black adds red overlay (removing from the selection). Paint with grey for soft, feathered selection edges.
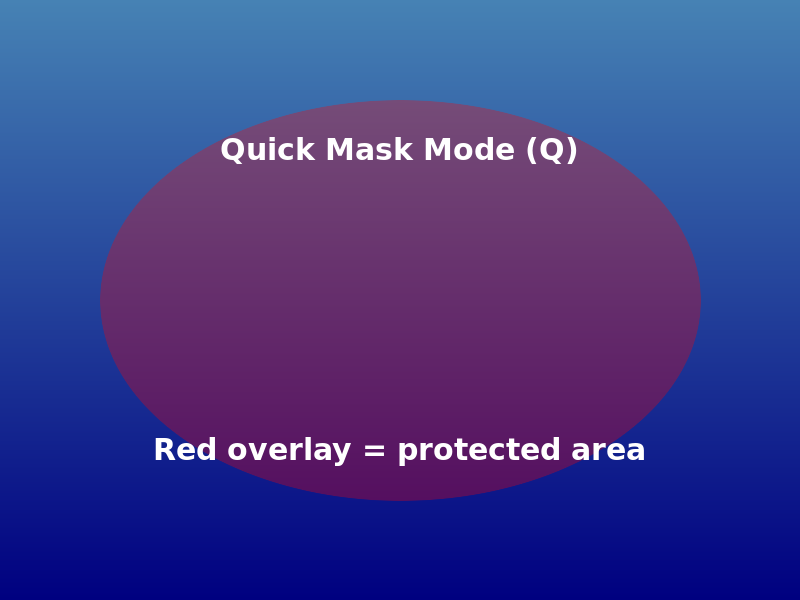
It turns selection refinement into something visual and tactile — you’re literally painting what you want selected. Press Q again to exit and see your marching ants selection.
This is infinitely more precise than trying to click the right spot with the Lasso tool, especially for selecting hair, fur, or anything with soft edges.
3. The Paths Tool — Bezier Precision
The Paths Tool (shortcut: B) is GIMP’s equivalent of the Pen Tool in Photoshop. Most beginners avoid it because it feels unintuitive at first. But it’s the most precise way to make selections in GIMP.
Click to place anchor points. Click and drag to create curved handles between them — the direction and length of each handle controls the curve. It takes some practice, but once you get the hang of it, you can trace anything perfectly.
When your path is closed, click Selection from Path in the tool options panel (or press Enter). Your path becomes a selection with razor-sharp edges.
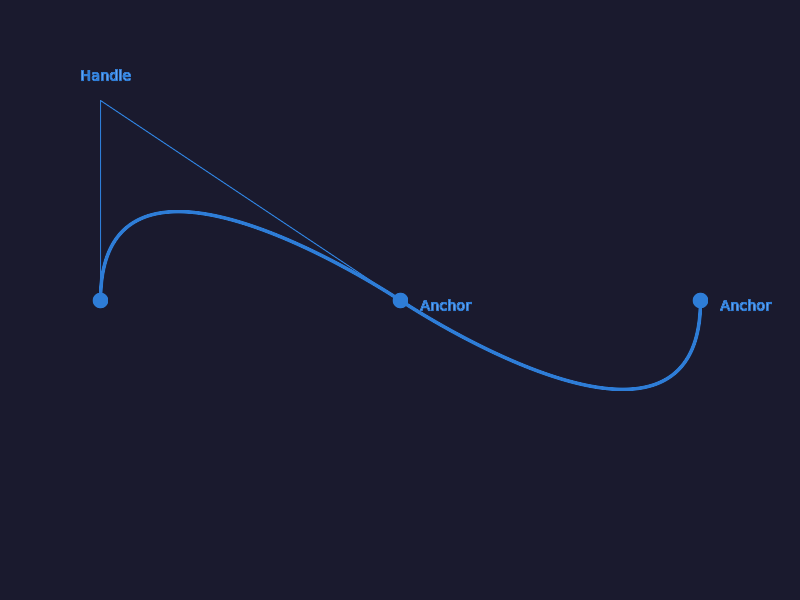
Paths also save as a separate entity — they appear in the Paths panel and don’t get lost when you make another selection. You can name them, reuse them, convert them to vector masks, or stroke them with a brush for custom line art.
4. Channels and Luminosity Masks
The Channels panel (next to the Layers panel tab) shows the Red, Green, and Blue channels of your image composited together. Each is a greyscale representation showing how much of that colour is present — white means full intensity, black means none.
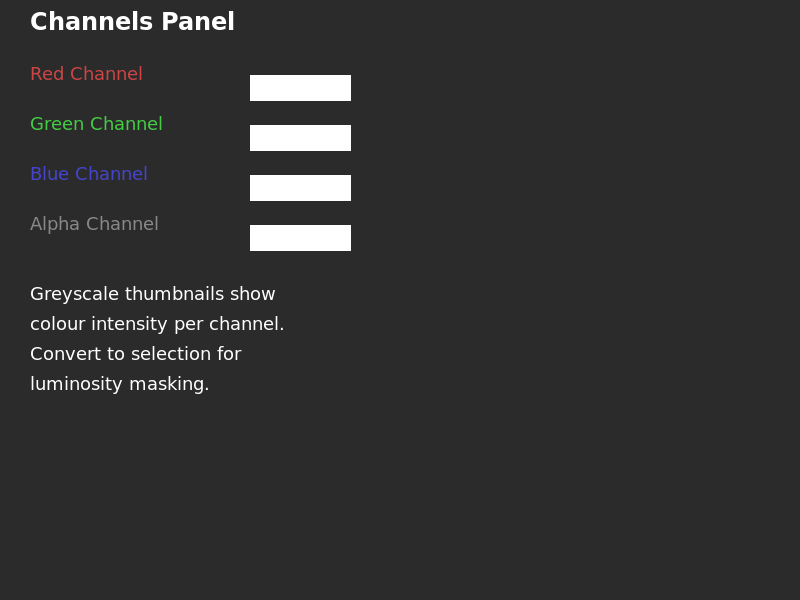
Here’s where it gets interesting. You can create a selection from any channel. Right-click a channel and choose “Channel to Selection”. The bright areas of that channel become selected. This is incredibly useful for masking specific tonal ranges.
Luminosity masks take this further. Duplicate the RGB channel (right-click → Duplicate Channel), then adjust its levels to isolate specific brightness ranges. Want to select only the highlights? Copy the RGB channel, open Levels (Colours → Levels), and pull the white point slider until just the highlights remain. Then convert that channel to a selection.
This is a pro-level technique. Photographers use it to adjust skies independently from foregrounds, or brighten shadows without affecting midtones.
5. Filters → GEGL Operations
GEGL (Generic Graphics Library) is the rendering engine under GIMP. Most of the common tools use it, but there are extra GEGL operations hiding in the Filters → GEGL Operations menu.
Some of my favourites:
- Long Shadow — creates a lengthy drop shadow effect, great for flat-design graphics and UI mockups
- Map Object — maps one image onto the surface shape (sphere, box, cylinder) of another. Turn a flat logo into a 3D sphere
- Whirl and Pinch — fun distortion effects for abstract work
- Difference of Gaussians — edge detection for artistic line effects or sharpening
- Oilify — simulates an oil painting look with adjustable brush size
Most of these were plugins in GIMP 2.x. Now they’re built right into the engine. Experiment with the sliders — GEGL processes in real time, so you can see everything change as you adjust.
6. Batch Processing With Scripts
GIMP has had scripting support for years. You can write scripts in Script-Fu (Scheme) or Python, and they can automate almost anything.
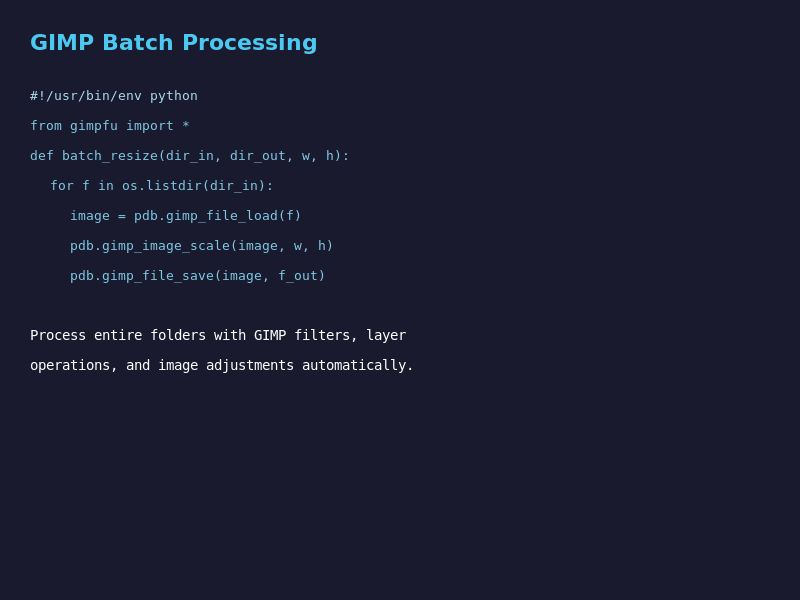
For the most common batch task — resizing, cropping, or converting a folder of images — use the Filters → Batch → Batch Process tool (if you have the batch plugin installed) or write a short Python script.
Here’s a quick example. Create a file called batch-resize.py:
#!/usr/bin/env python
from gimpfu import *

def batch_resize(input_dir, output_dir, width, height):
    import os
    for filename in os.listdir(input_dir):
        if filename.lower().endswith(('.jpg', '.jpeg', '.png', '.tif')):
            image = pdb.gimp_file_load(
                os.path.join(input_dir, filename), filename)
            new_layer = pdb.gimp_image_scale_full(
                image, width, height, 2)  # 2 = cubic
            out_path = os.path.join(output_dir, filename)
            pdb.gimp_file_save(image, image.layers[0], out_path, filename)
            pdb.gimp_image_delete(image)
Register it with GIMP, and you’ve got a batch processor you can call from File → Batch → Your Script. No need to open each image one at a time.
For lighter batch needs, ImageMagick is faster — but if you need to apply GIMP-specific filters or layer operations to a folder of images, scripting is the way.
The Bottom Line
GIMP 3.0’s real power has always been in the features that don’t make the splash screens — the tools that take ten minutes to learn and save you hours forever. Layer masks, Quick Mask mode, the Paths tool, and channel-based selections are the skills that separate a beginner from someone who can actually get work done. Start with one feature — layer masks — and you’ll wonder how you ever worked without them.
Download it at gimp.org — free, no subscriptions, no account required.
Looking for more creative tools? Browse our Creative & Multimedia directory for more free and open-source software.